Cost-efficient Virtual Machine Clustering with Proxmox VE for SMEs and Enterprises

Proxmox VE is a web based, open source hardware virtualization platform based on Debian GNU/Linux. It allows for virtualizing unmodified guests using the kernel based virtual machine (KVM) which is the native implementation of hardware assisted virtualization that's embedded into the linux kernel. In addition, Proxmox VE also supports Linux containers (LXC) being an OS level type of virtualization.
Hardware assisted virtualization requires special support of a machine's processor commonly known as Intel® Virtualization Technology (Intel® VT / VT-x) or Technology for Client Virtualization (AMD-V™ / AMD SVM).
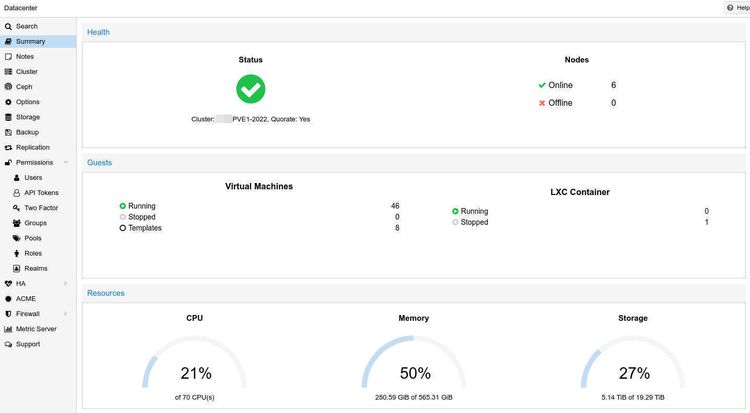
I've designed, deployed and maintained virtual system clusters using Proxmox VE for several years. Mostly for international businesses. A more recent deployment is with Pacific Business Services, a rapidly expanding BPO with hundreds of agents located in Dumaguete City. We're currently in the first stage and once completed it will consist of two Dell PowerEdge R610 - one per physical site - forming a virtual machine cluster (VMC) providing redundant infrastructure services such as Proxy, DNS, IDS, VPN, Backup, Web and Database related services.

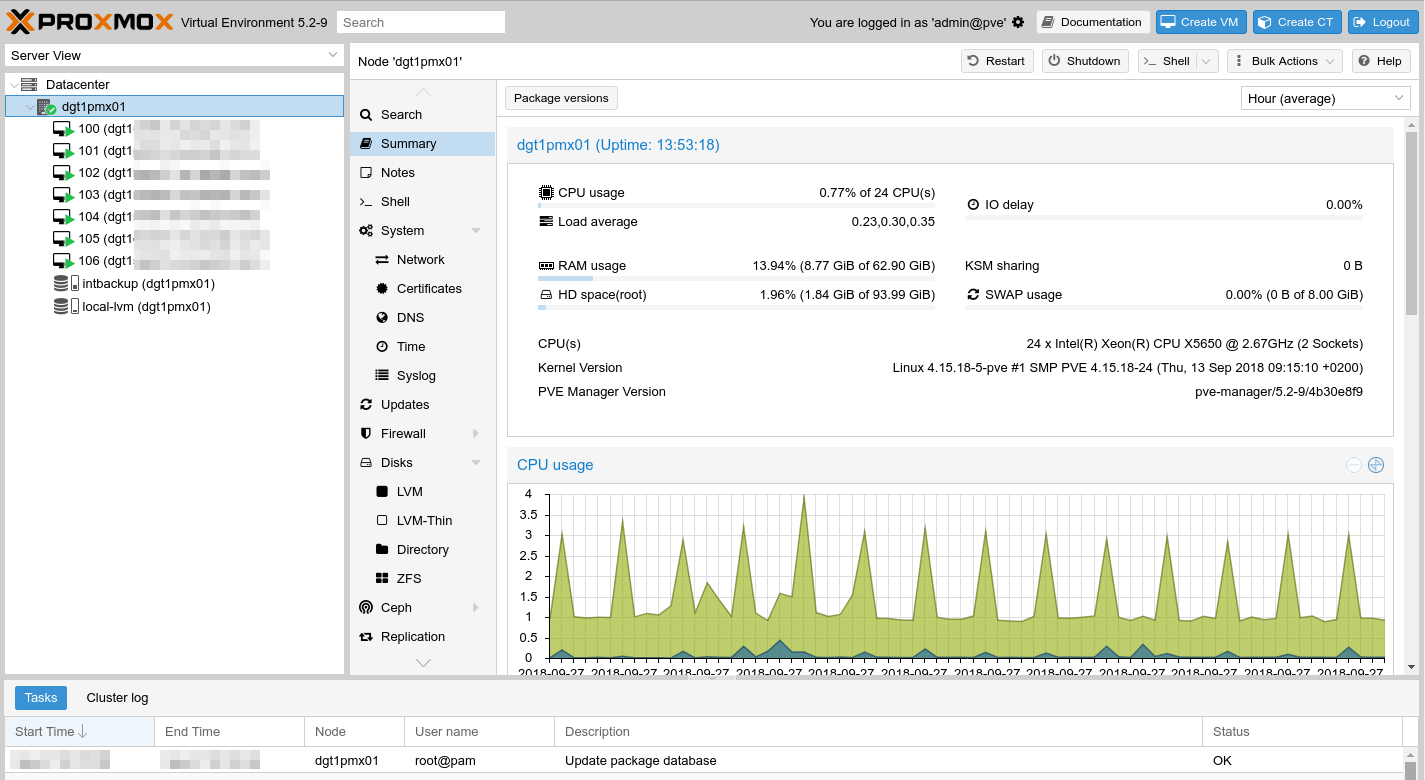
Majority of clients source refurbished hardware from ITAD providers overseas. This includes the DELL server platforms used in this deployment. Arguably, with its Intel® Xeon® X5650 released in early 2010, the PowerEdge R610 seems pretty dated.
However, the process of selecting the correct hardware involves a couple of questions;
- Is the platform suitable for the use case at hand?
- Is the hardware fully compatible with the OS you're planning to run?
- Can the hardware components be upgraded? (e.g. RAM, CPUs, 10/40GbE NICs, HW RAID, FiberChannel [...] )
- Does the ITAD provider offer any optional warranty? If so, what's the coverage and does it make sense for the client?
- Will the vendor (e.g. DELL) continue to provide software updates for the platform and if so, approx. for how long? (BIOS, SMB/IPMI, Peripherals [...])
With security vulnerabilities such as Spectre and Meltdown turning the industry upside down it's vital that used platforms will continue to receive software updates also in the immediate future.
While there is no such thing as guarantee, at least in the case of DELL all variants of Spectre and Meltdown have been addressed in recent BIOS versions all the way back to the 11th generation of its EMC portfolio of products (see here and here).
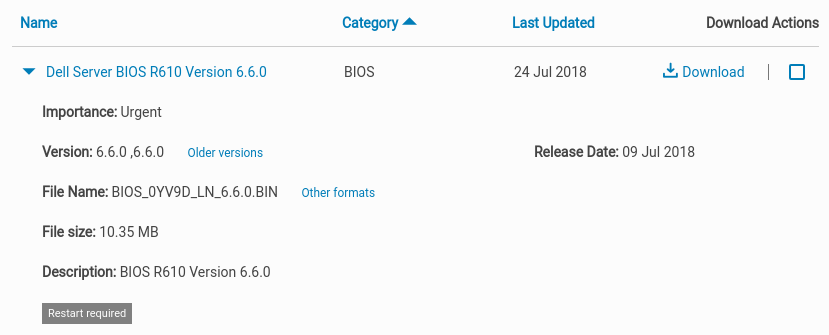
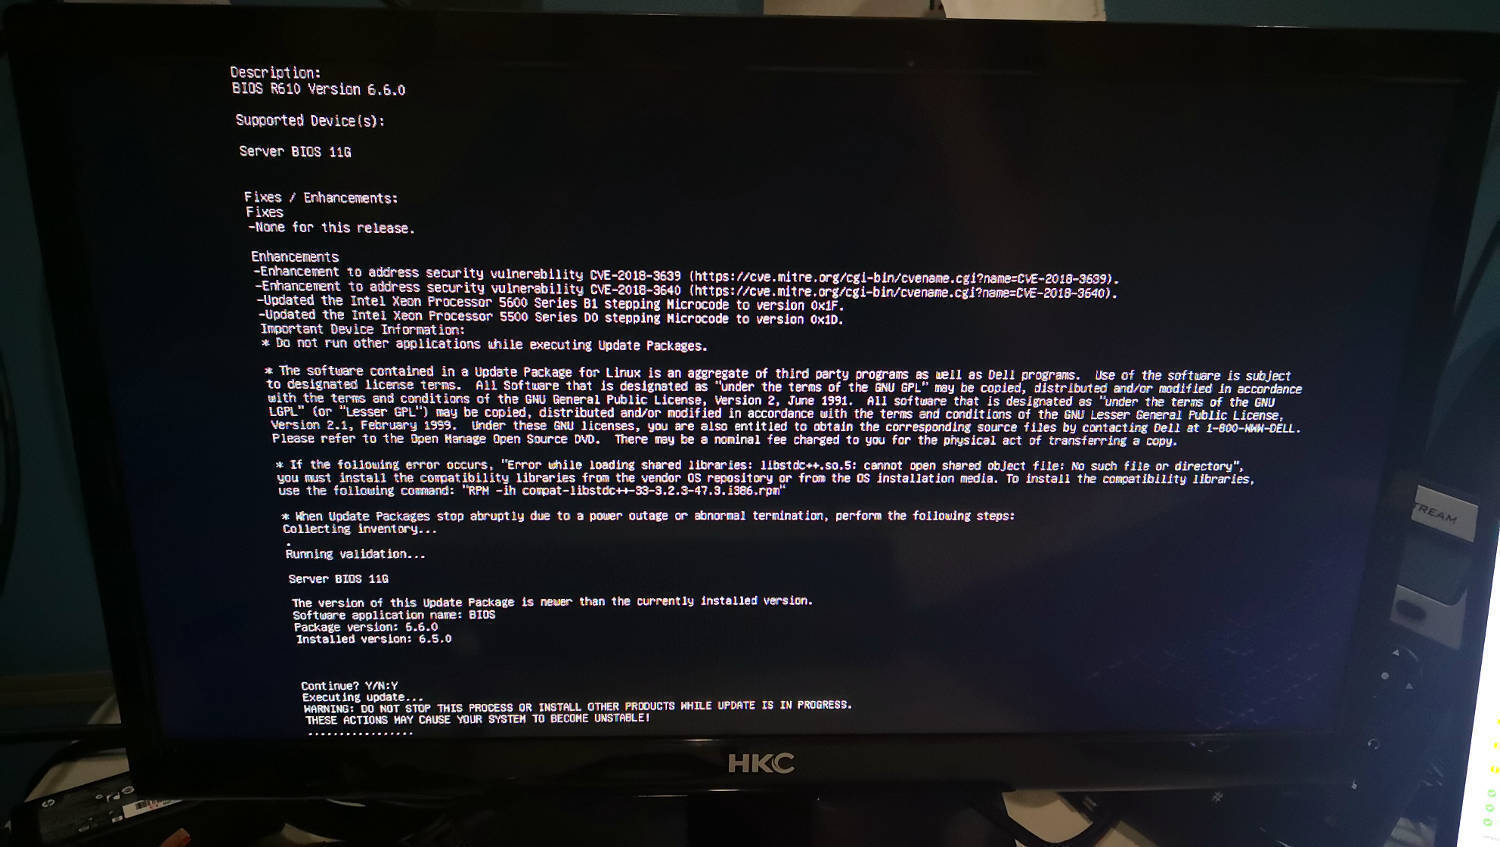
For instance, the latest release for the BIOS of the PowerEdge R610 (11G) - being v6.6.0 from July 2018 - includes updated microcode addressing all recent variants of Spectre.
DELL offers a platitude of options when it comes to updating system components including the BIOS:
- Updating Dell PowerEdge servers via bootable media / ISO
- PowerEdge Server: Updating Firmware through the iDRAC
- How to Update Your System BIOS Using a USB Flash Drive
- BIOS Updated via DELL EMC System Update (DSU)
- Dell Update Packages for Linux (platform specific)
In this case I been using Option No. 5 which requires a self-contained executable that can be downloaded from the drivers page of the respective server (use a Linux OS as platform when prompted).
# file -sL BIOS_0YV9D_LN_6.6.0.BIN
BIOS_0YV9D_LN_6.6.0.BIN: POSIX shell script executable (binary data)

# bash BIOS_0YV9D_LN_6.6.0.BIN
The executable ends on .BIN being a shell script. It has the BIOS image appended in binary form. It can be executed simply by passing it as argument to the bash command.
This PowerEdge R610 is equipped with 4x 900GB SAS drives running in a RAID10 providing for an effective capacity of 1.8TB. Installing Proxmox VE is straight forward. First, download the latest ISO image and transfer it to a flash drive.
$ time sudo dd bs=4M if=proxmox-ve_5.2-1.iso of=/dev/disk/by-id/usb-JetFlash_Transcend_4GB_1R7MQ9WY-0:0 conv=fsync; sync; syncWith /dev/disk/by-id/usb-JetFlash_Transcend_4GB_1R7MQ9WY-0:0 being the absolute path to your flash drive. Once the process is complete unplug the drive from your workstation and plug it into any of the available USB ports of your server. Next, fire up the machine and boot from the pen drive by opening the boot manager during boot by pressing F11.

Once the installation is complete you'll be prompted to reboot the machine. Once it's booted into the OS log in as the root user and execute the following steps to complete your initial setup:
I encourage you to buy a subscription. Why? Because you want to support the livelihood of the team behind proxmox and obviously because it enables access to the enterprise repository which provides for real-time updates.
However, assuming that you're just starting out the community repository will suffice. On a default installations the Enterprise repository is enabled by default. In order to activate the community repository follow the steps outlined below:
# rm /etc/apt/sources.list.d/pve-enterprise.listFirst, remove the enterprise repository. If you don't you'll get an error when trying to update the repository cache.
# cat <<EOF> /etc/apt/sources.list.d/proxmox.list
deb http://download.proxmox.com/debian stretch pve-no-subscription
EOF
Afterwards install the community repository, refresh all software repositories, upgrade the entire system and reboot the machine.
# apt update
# apt full-upgrade -y
# reboot
Afterwards you'll have a fully updated system. That is except features that have just been implemented as passing them down from the enterprise repository is intentionally being delayed. However, security related patches are being made available for both; the enterprise and community repositories!
The default network configuration bridges the first available network interface of the machine. The configuration lives in /etc/network/interfaces and while there are ways around it, changes made via web frontend will require you to reboot the machine in order to be applied.
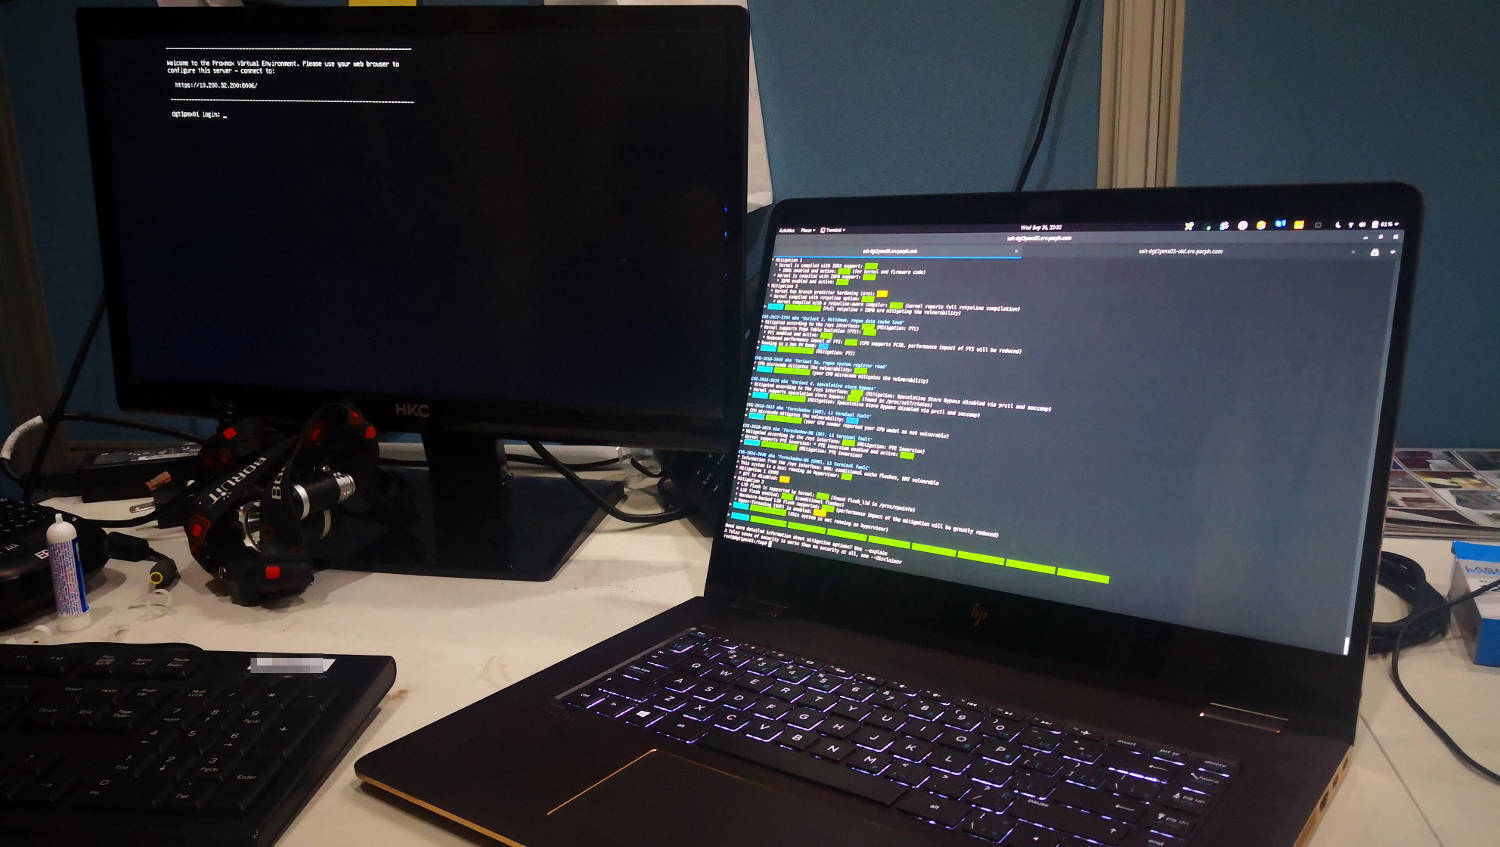
Now is a good time to verify that all possible mitigations against Meltdown and Spectre are in place. In this regard the good folks within the INFOSEC community have been quite busy.
In particular I want to give a massive shoutout to Stéphane Lesimple (aka speed47) a security professional with OVH who developed the Spectre & Meltdown vulnerability/mitigation checker for Linux. The utility is completely written in shell and runs on all linux as well as some BSD flavors without requiring any additional dependencies.
In its current version the utility checks for and verifies the mitigation status for all Meltdown and Spectre vulnerabilies currently known - namingly:
- CVE-2017-5753 [bounds check bypass] aka 'Spectre Variant 1'
- CVE-2017-5715 [branch target injection] aka 'Spectre Variant 2'
- CVE-2017-5754 [rogue data cache load] aka 'Meltdown' aka 'Variant 3'
- CVE-2018-3640 [rogue system register read] aka 'Variant 3a'
- CVE-2018-3639 [speculative store bypass] aka 'Variant 4'
- CVE-2018-3615 [L1 terminal fault] aka 'Foreshadow (SGX)'
- CVE-2018-3620 [L1 terminal fault] aka 'Foreshadow-NG (OS)'
- CVE-2018-3646 [L1 terminal fault] aka 'Foreshadow-NG (VMM)'
To run a full check on your machine you may executing the steps outlined below (as user root). DO NOT BLINDLY COPY & PASTE STUFF YOU FIND ON THE INTERNET WITHOUT A THOROUGH UNDERSTANDING WHAT YOU ARE DOING AS WELL AS REVIEWING ANY SCRIPTS PRIOR TO EXECUTING THEM ON ANY OF YOUR MACHINES!
# cd /tmp/
# wget https://raw.githubusercontent.com/speed47/spectre-meltdown-checker/master/spectre-meltdown-checker.sh
# sh spectre-meltdown-checker.sh --explain
I've trimmed the output above using grep to only include information relevant to this article. I encourage you to read through every section to understand how vulnerabilities are being mitigated. The script will also make suggestions on how to enhance mitigations e.g. by enabling certain settings in your kernel build config.
That's it. We will continue this once I've set up the cluster which will cover Proxmox VE in a lot more detail including storage network design and capacity planning, among others.
Cheers!